
This morning’s project was to install Harley’s extended switch caps on my 2019 Sport Glide. I’m installing part number 71500177. Harley says that they won’t fit the Sport Glide, but fellow owners have said that they will in fact work. Due to a minor birth defect, it’s really tough for me to operate the stock right switch. I’m doing the write-up first, and then attaching pictures below, so be sure to scroll down.
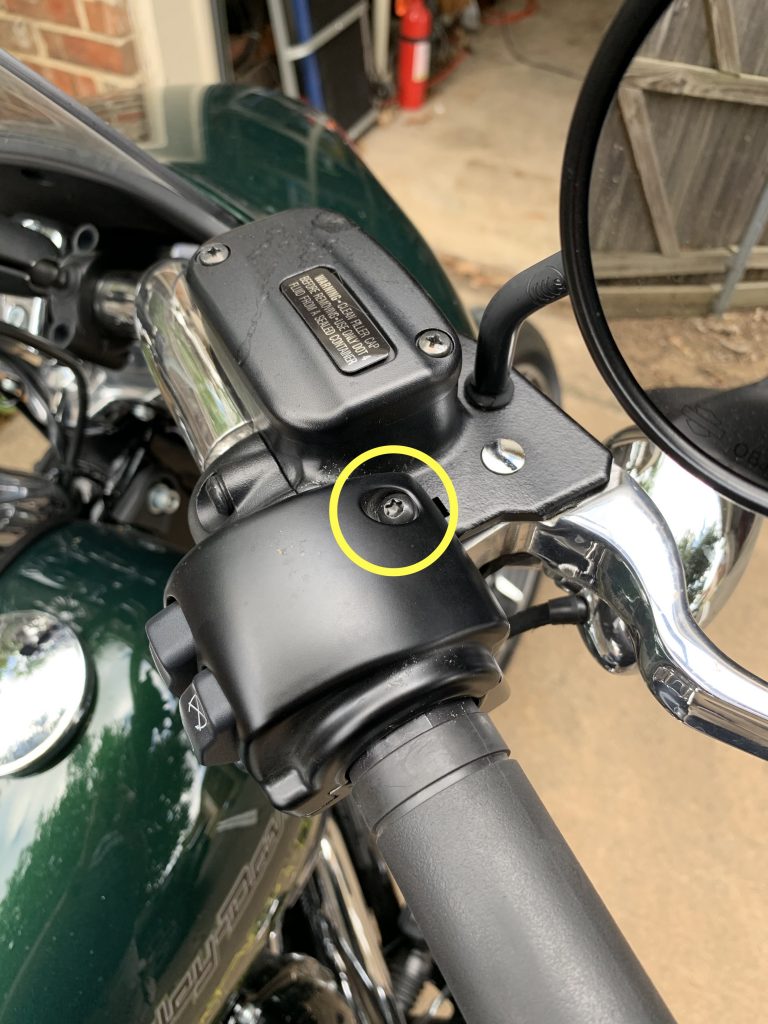
I started with the right side switch housing because it’s the simpler one. The first step is to remove the two T-25 screws that hold the switch housing on the bars. Then wiggle the housing off of the bar, keeping in mind that the grip is loose and will slide off. Once it’s been loosened, take off the two T-15 screws that hold the switch module in the bottom housing. From there it’s easy to pop the old switch cap off. One thing to keep in mind that the switch caps are not the same. Compare the one you just removed to the two in the box. You’ll see that there’s a difference in the notches molded in to it. Make sure you use the right one. Pop that on and then reassemble everything in reverse and give it a function check before moving on.
The left switch housing is a little more complicated than the right one. You have to remove the clip that holds the cruise control switch on its post. Next, remove the T-25 screws and separate the housing halves. Once that’s off, the steps are the same as for the right hand housing. Also keep in mind that there’s a clutch switch that is loose in there, just held in place by tension. Once you get everything disassembled, swap your switch cap, and then put it all back together. Keep in mind the routing of the wires and make sure that the clutch switch is in place. Do a function check on that side to make sure nothing got jacked up and then you’re done. Enjoy your new extended switch caps.
Top housing T-25 screw location. 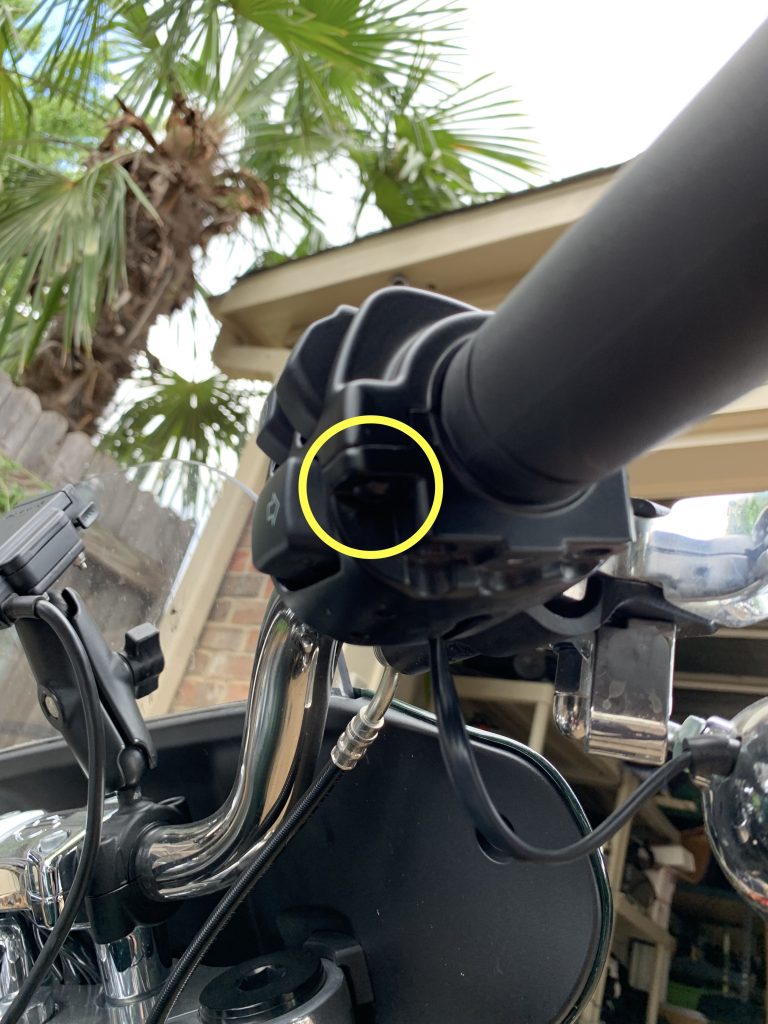
Bottom housing T-25 screw location. 
The screws that hold the switch module in the housing. 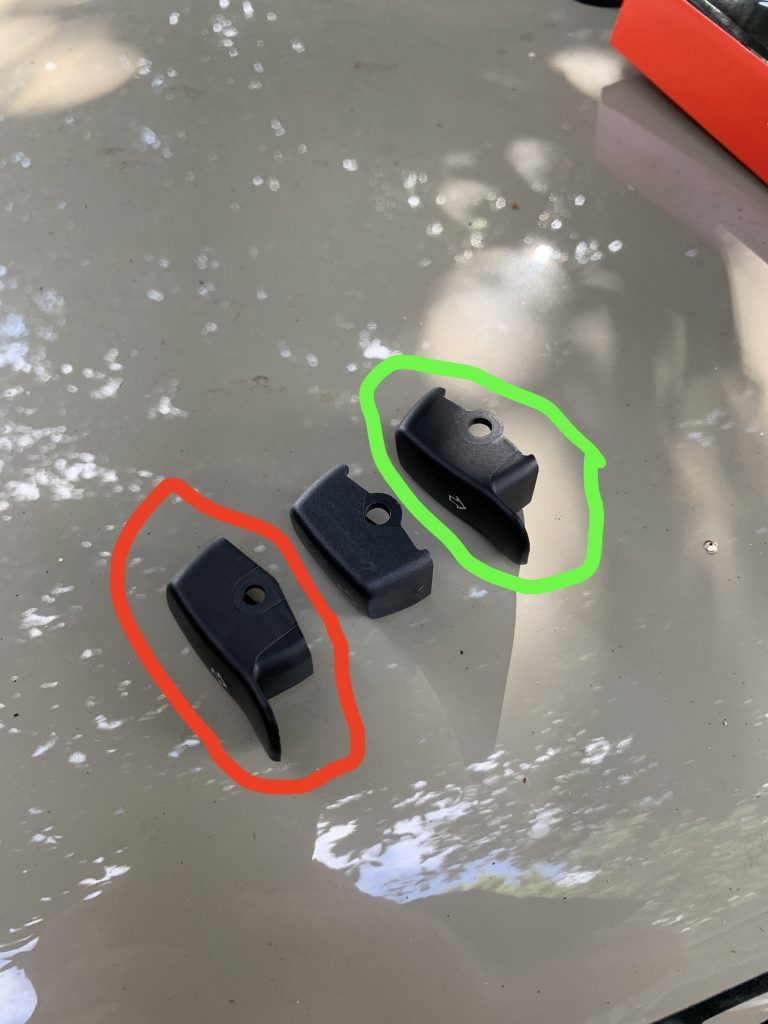
Right and wrong switch caps. 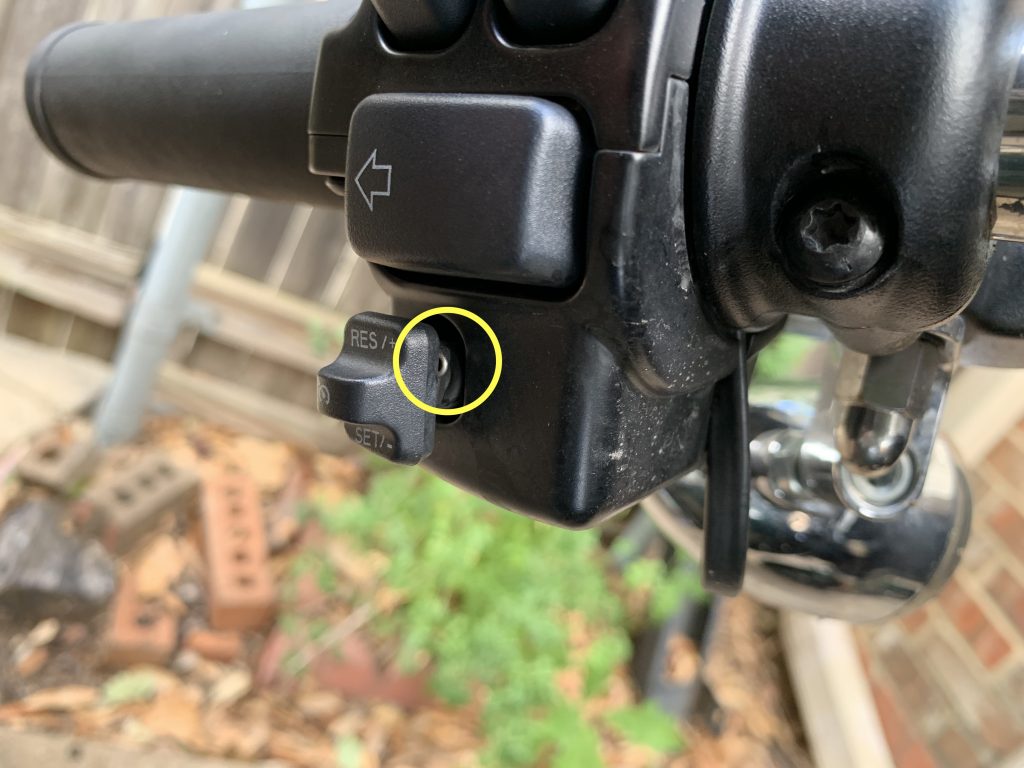
The clip that holds the cruise control switch cap on. 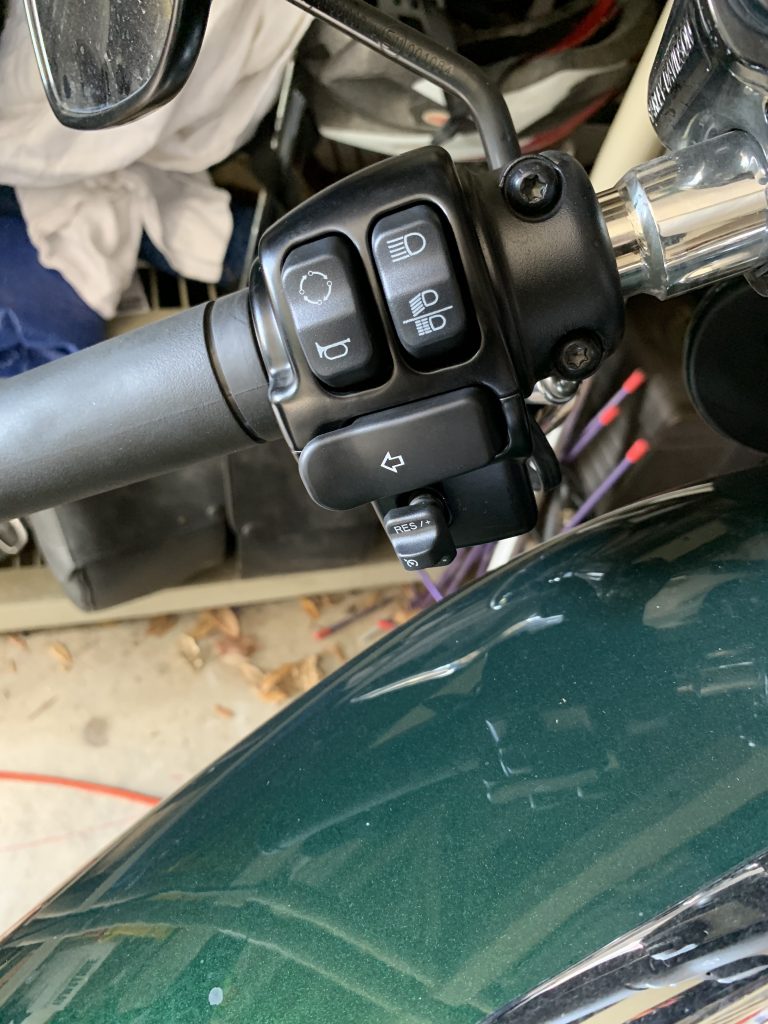
Left extended switch cap installed on the FLSB Sport Glide. 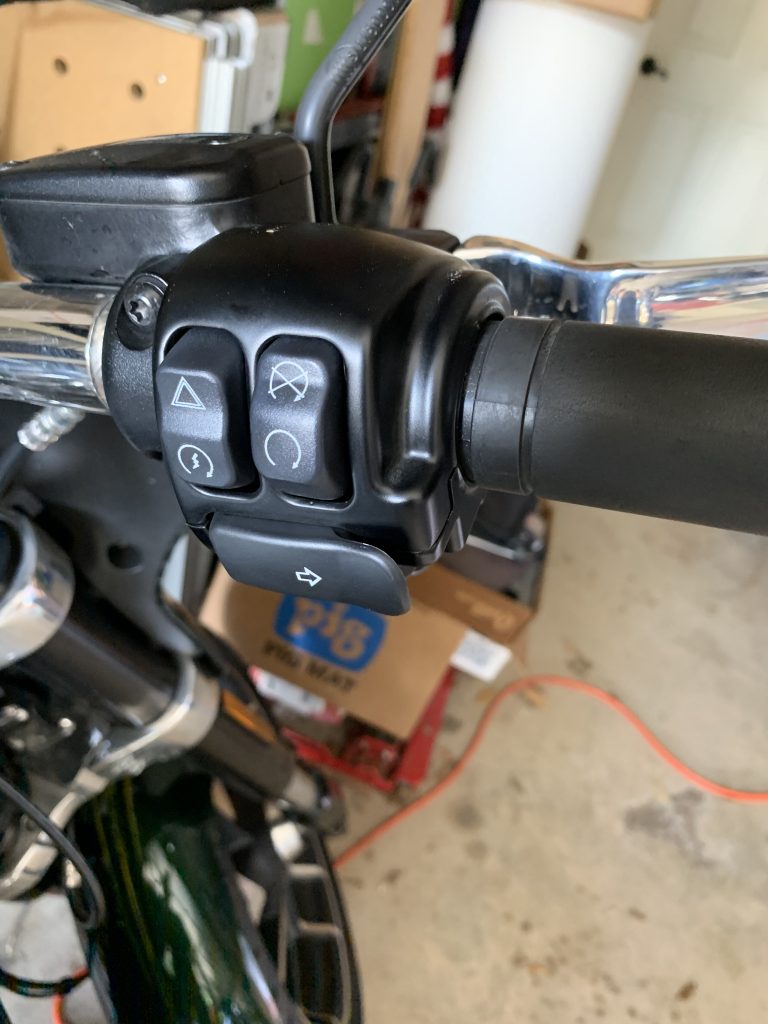
Right extended switch cap installed on the FLSB Sport Glide.